How to Install OpenCart MultiVendor Extension on Version 4

Applicable for All OpenCart 4.x.x.x Versions
Installing extensions in OpenCart 4 is slightly different from OpenCart 3. This guide uses the Multi-Vendor extension as an example, but the process applies to all OpenCart 4 extensions.
The steps apply to versions 4.0.0.0, 4.0.1.0, and 4.0.1.1.
If installed incorrectly, uninstall it using the Extension 4.x Uninstall Guide . Uninstalling also removes extension-related data.
Steps to Install OpenCart Modules on Version 4.x
IMPORTANT: Rename the File Before Uploading
If your file is named like purpletree_multivendor.5.ocmod, it will NOT work.
You must rename it to: purpletree_multivendor.ocmod
Files with numbers (e.g., .5, .4) in the name will cause issues.
Remove the number to make it: purpletree_multivendor.ocmod
Step 1: Extensions > Installer
Go to Admin > Extensions > Installer and upload the renamed extension file.
Wait for the message: "Success: Extension has been uploaded."
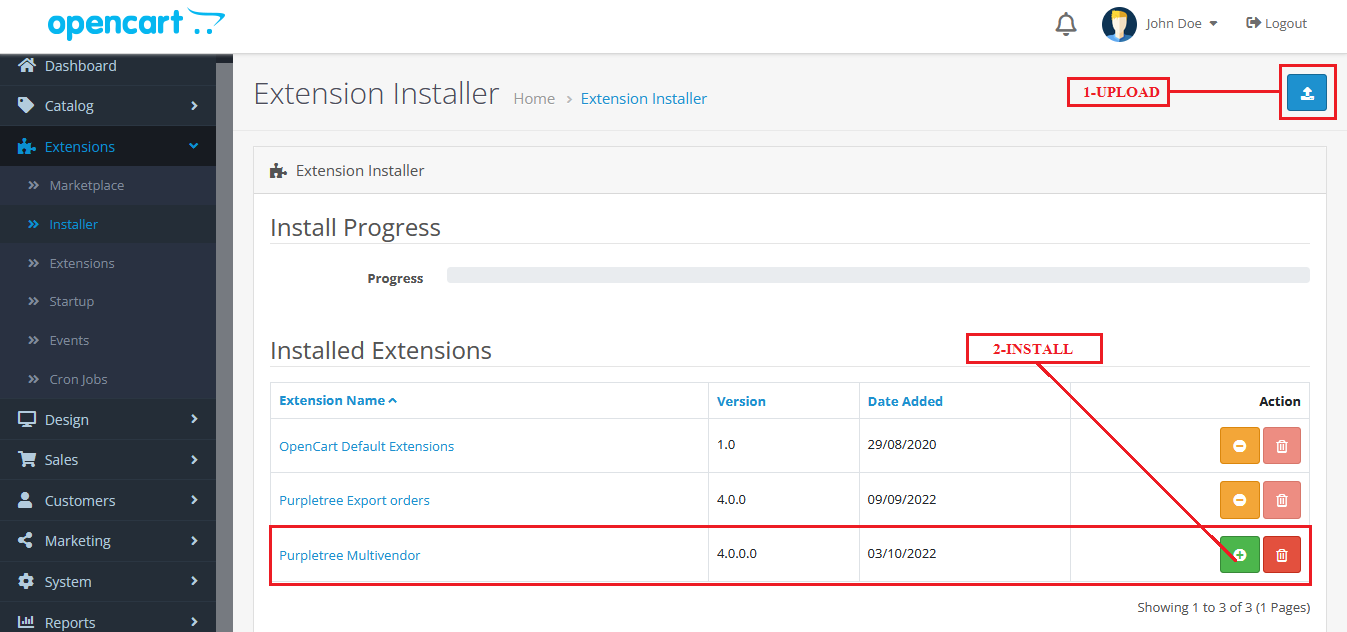
Step 2: Install the Uploaded Extension
Scroll down to "Installed Extensions" and click the green plus (+) icon to install.
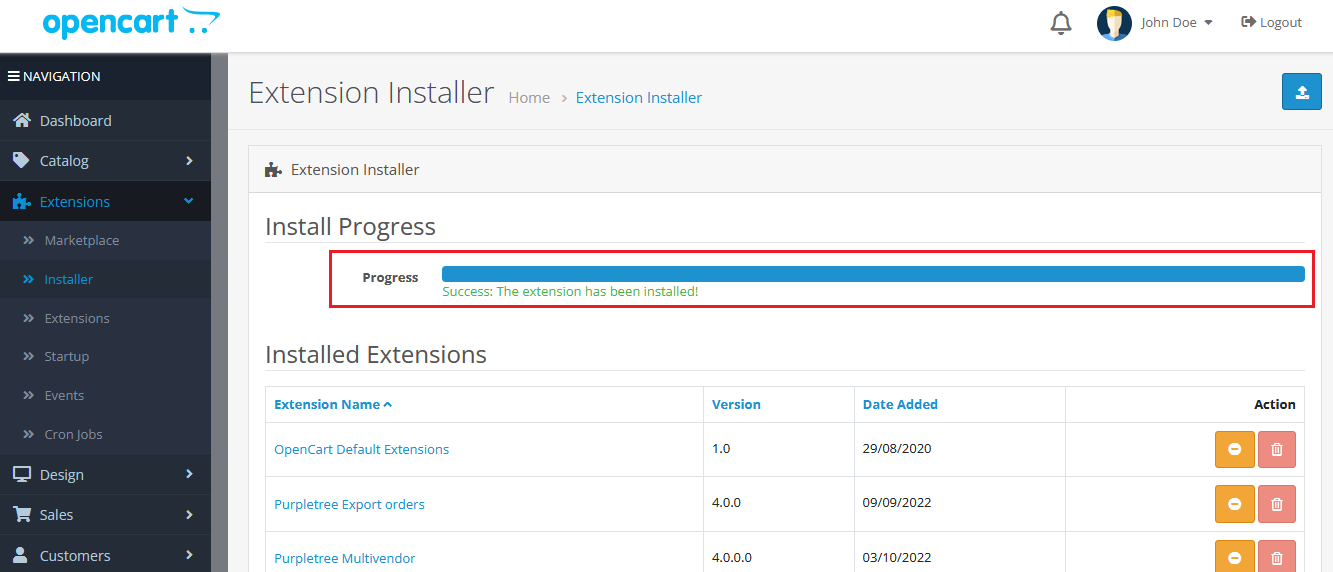
Please wait 3–6 minutes for the progress bar to complete. Do not interrupt.
Success message: "Success: You have modified extensions."
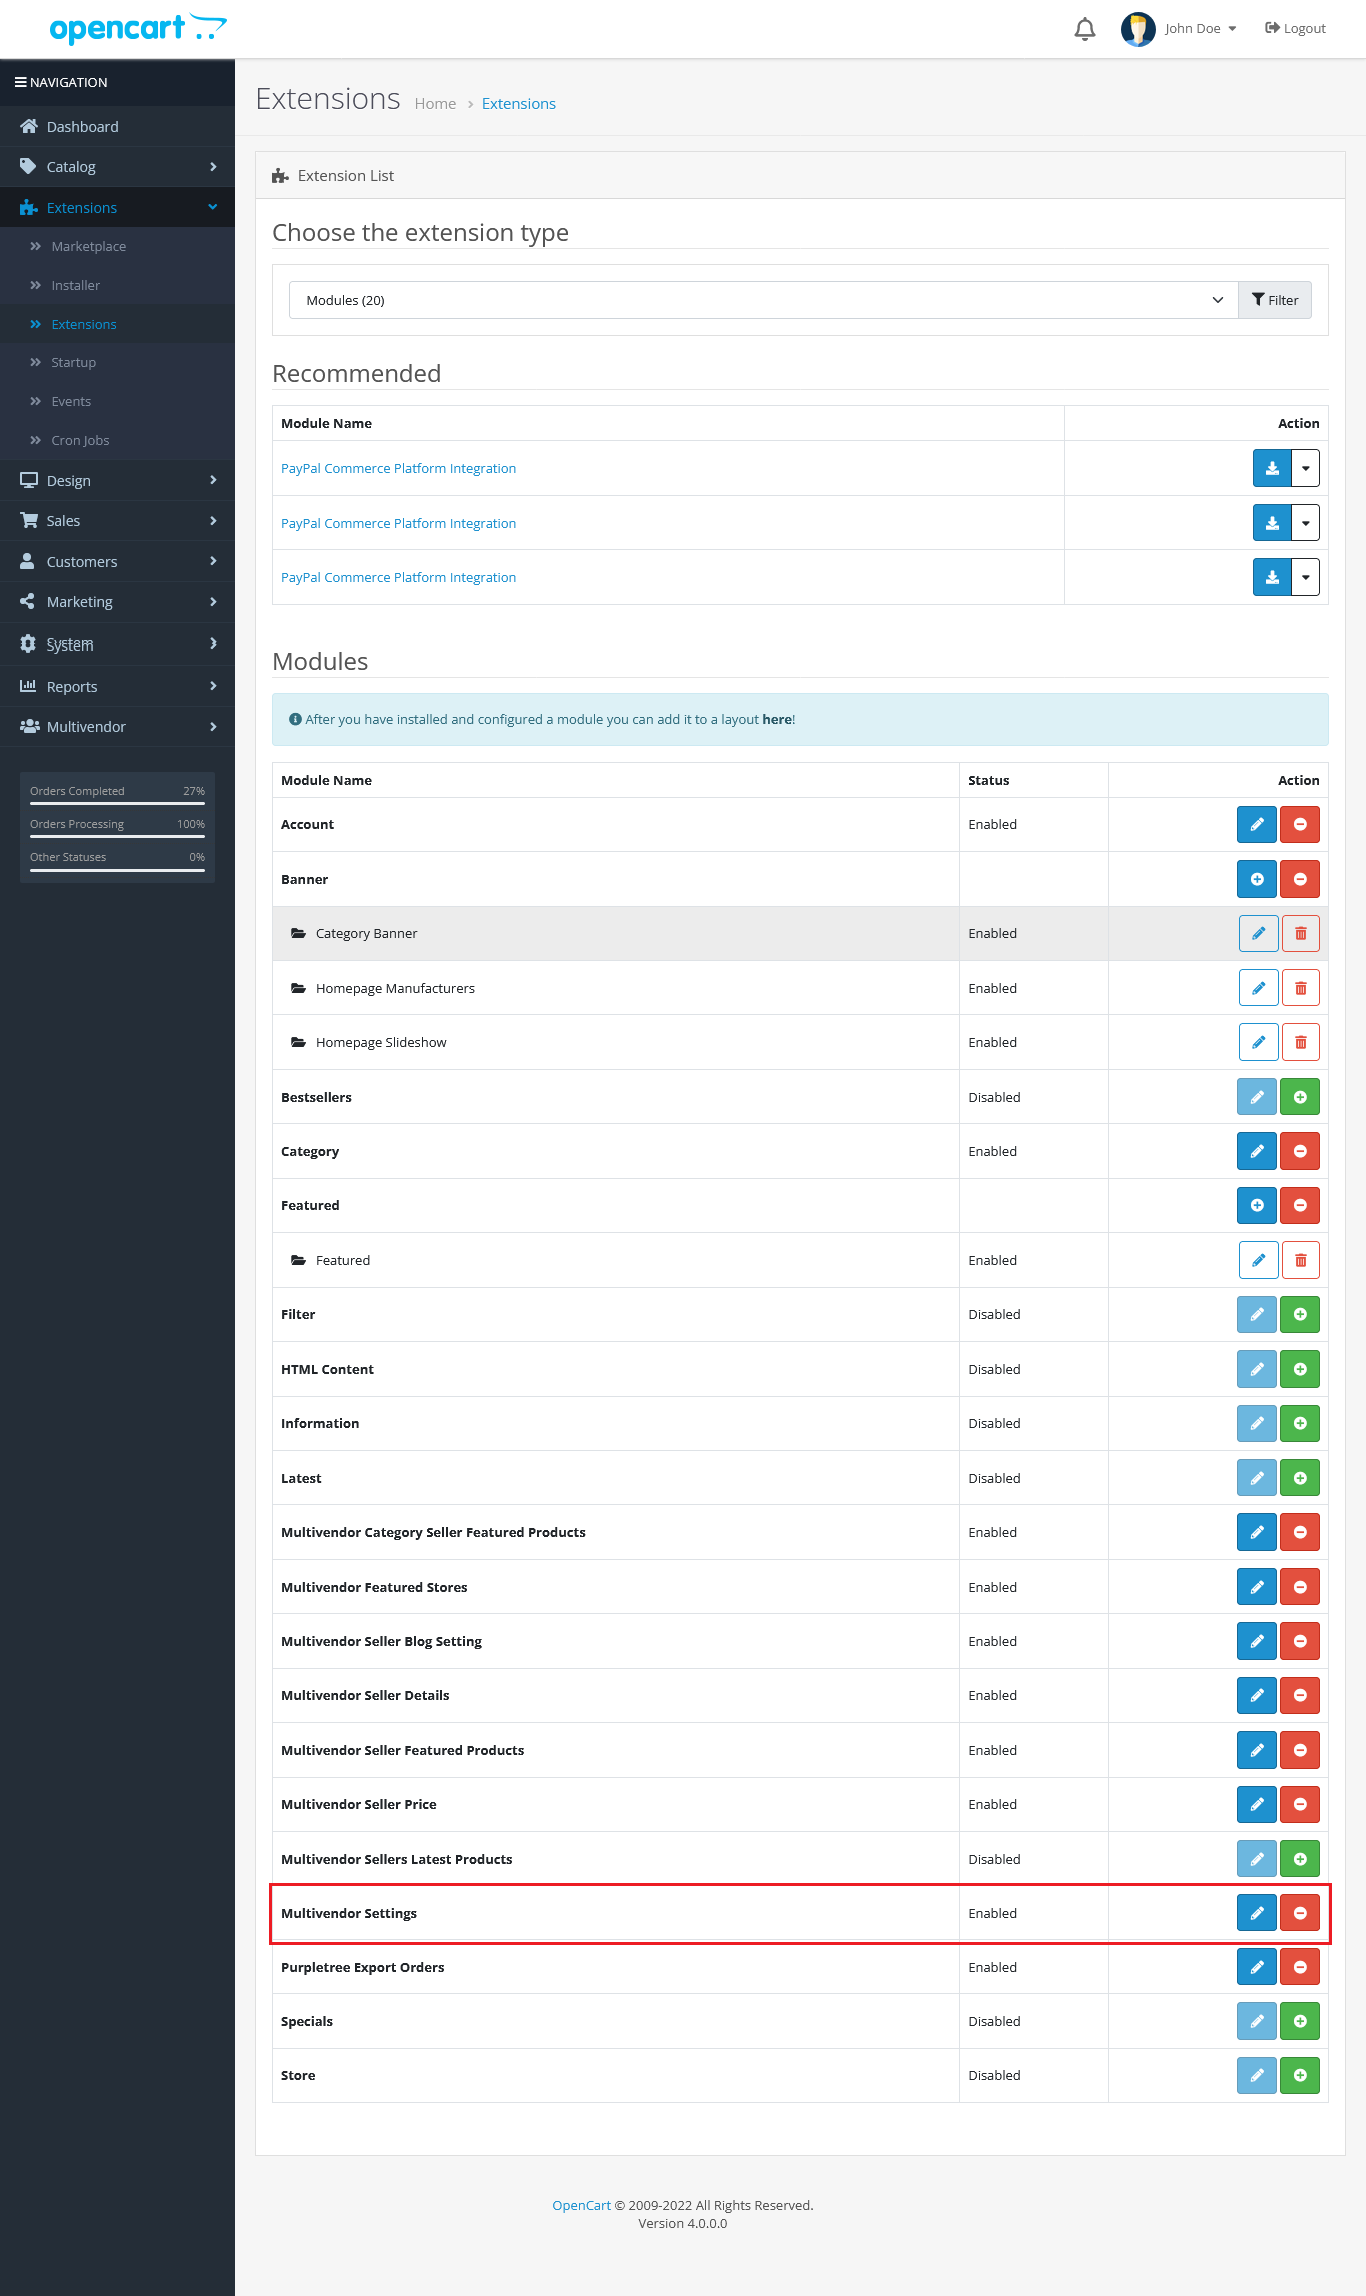
Step 3: Activate the Module
Go to Extensions > Extensions, select "Module", find Multi-Vendor, and click install.
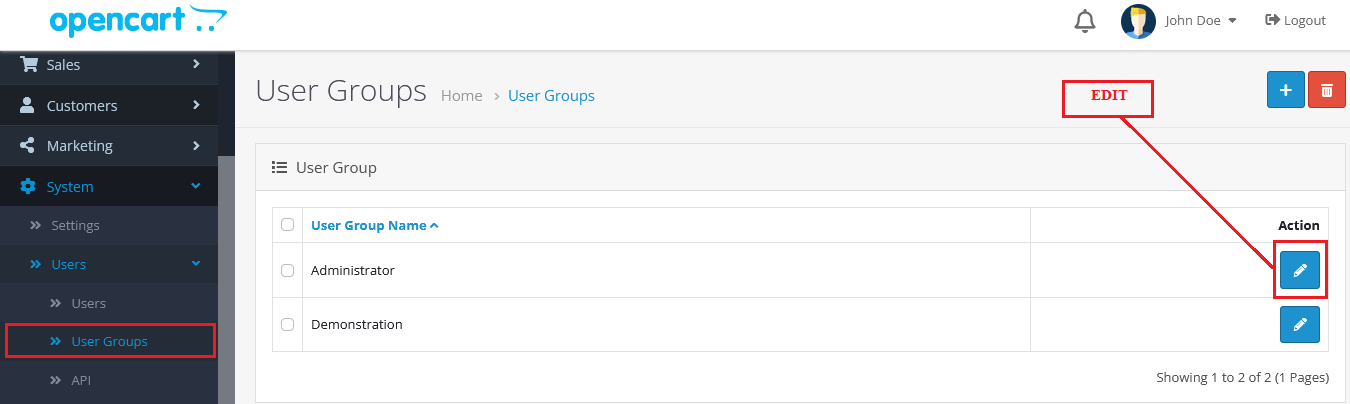
Step 4: Set Permissions
Go to System > Users > User Group, edit the "Administrator" group.
Enable both Access and Modify permissions for the extension, then click "Save".

Step 5: License Activation
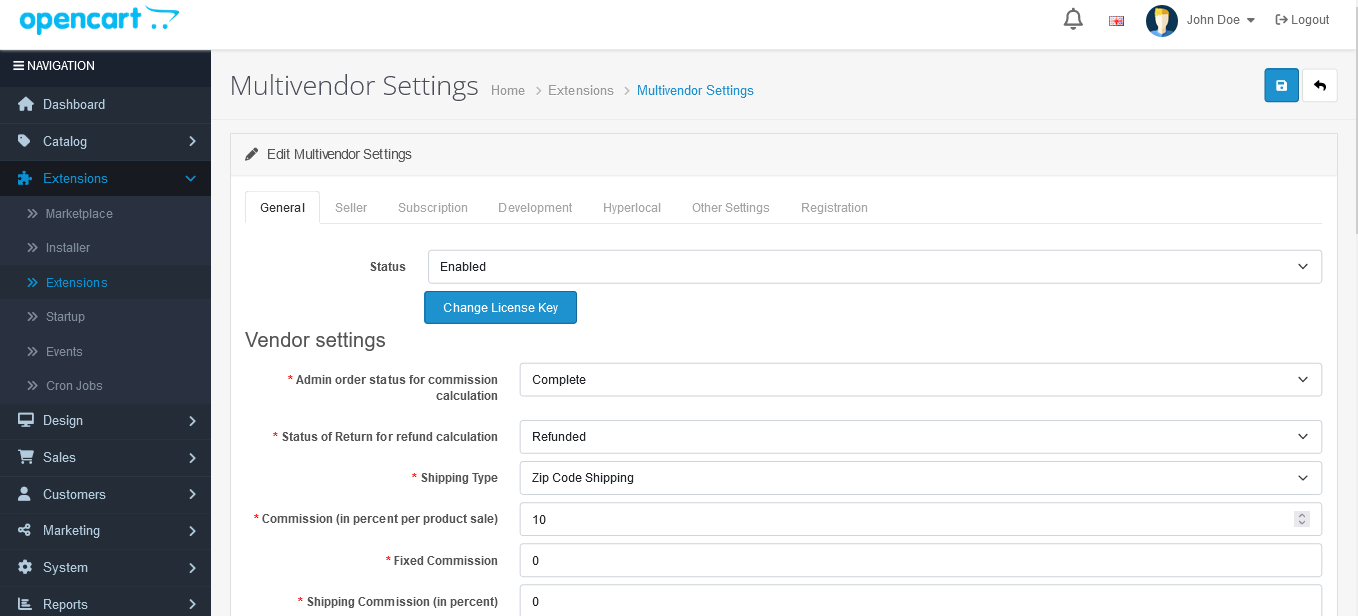
Go to Extensions > Extensions > Module, select "Multi Vendor Settings".
Click "Edit", enable the module, enter your license key, and click "Save".

Important Server Settings
- upload_max_filesize = 20M
- post_max_size = 20M
- max_execution_time = 120
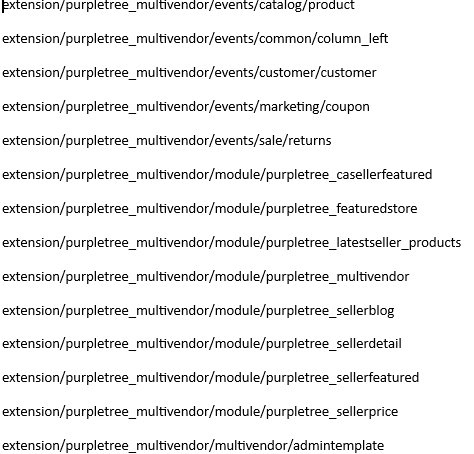
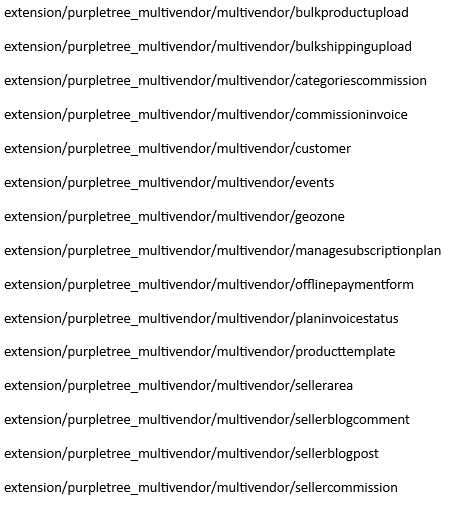
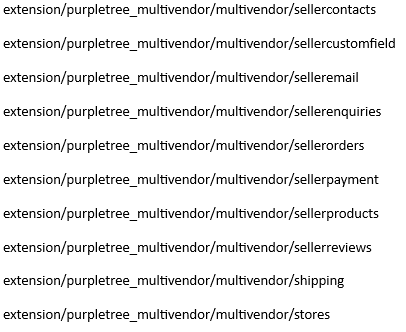
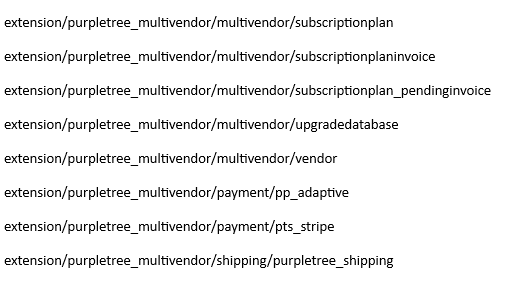
Required Permissions (Screenshots)
Ensure the following permissions are granted:
After completing all steps, your extension will be successfully installed on OpenCart version 4.x.