Purpletree Magento Product Designer User Guide & Documentation
Purpletree Product Designer User Guide
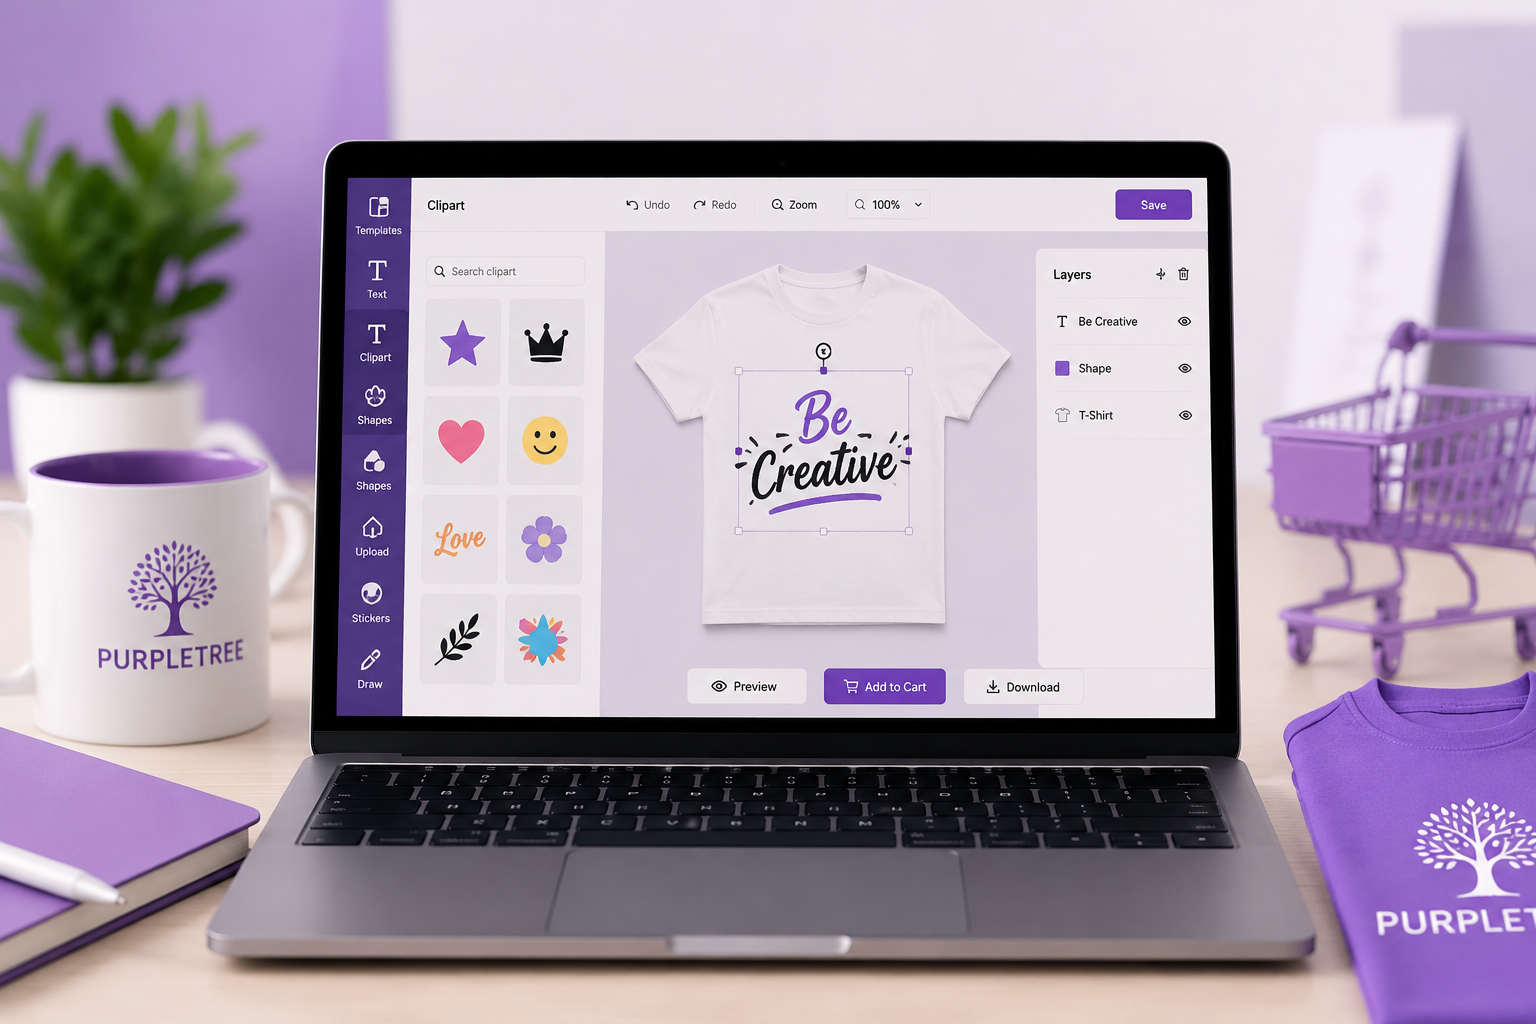
The Purpletree Product Designer enables customers to personalize products using an advanced HTML5-based design editor. Customers can create unique product designs using text, images, clipart, shapes, stickers, drawing tools, and various design effects before placing an order.
Administrator Guide
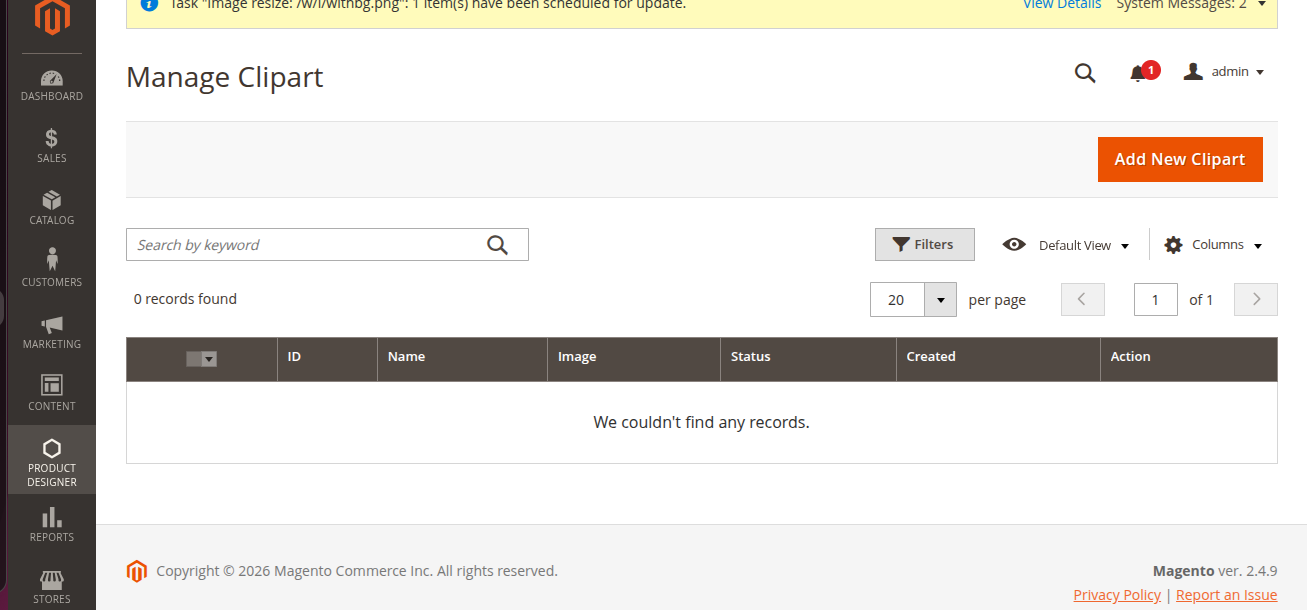
Managing Clipart
Navigation:
Product Designer → Manage Clipart
- Click Add New Clipart to upload clipart images.
- Supported file formats: JPG, JPEG, GIF, PNG, SVG, and WEBP.
- Set Status to Enabled to make clipart available in the Magento product designer.
- Edit or delete existing clipart from the management grid.
Product Configuration
Navigation:
Catalog → Products → Edit Product
Product Designer Settings
- Enable Product Designer Status to display the Customize Design button on the product page.
- Configure Layer Limits to control the maximum number of:
- Text Layers
- Clipart Layers
- Image Layers
- Shape Layers
- Total Design Layers
Design Areas Configuration
Navigate to the Design Areas tab to configure printable product surfaces.
For each design area:
- Upload the product image (e.g., Front View, Back View, Side View).
- Specify Width and Height in pixels.
- Set the DPI value (recommended: 300 DPI).
- Configure Safe Line, Bleed Line, and Fold Line margins.
- Define the Canvas Area to specify the editable design boundary.
Viewing Customer Designs
Navigation:
Sales → Orders → View Order
For products containing custom designs:
- View design previews directly within the order.
- Open the design preview modal.
- Download design files in PNG format.
- Print or generate PDF versions of customer designs.
Customer Guide
Starting a Product Design
- Open a product with Product Designer enabled.
- Click the Customize Design button on the product page.
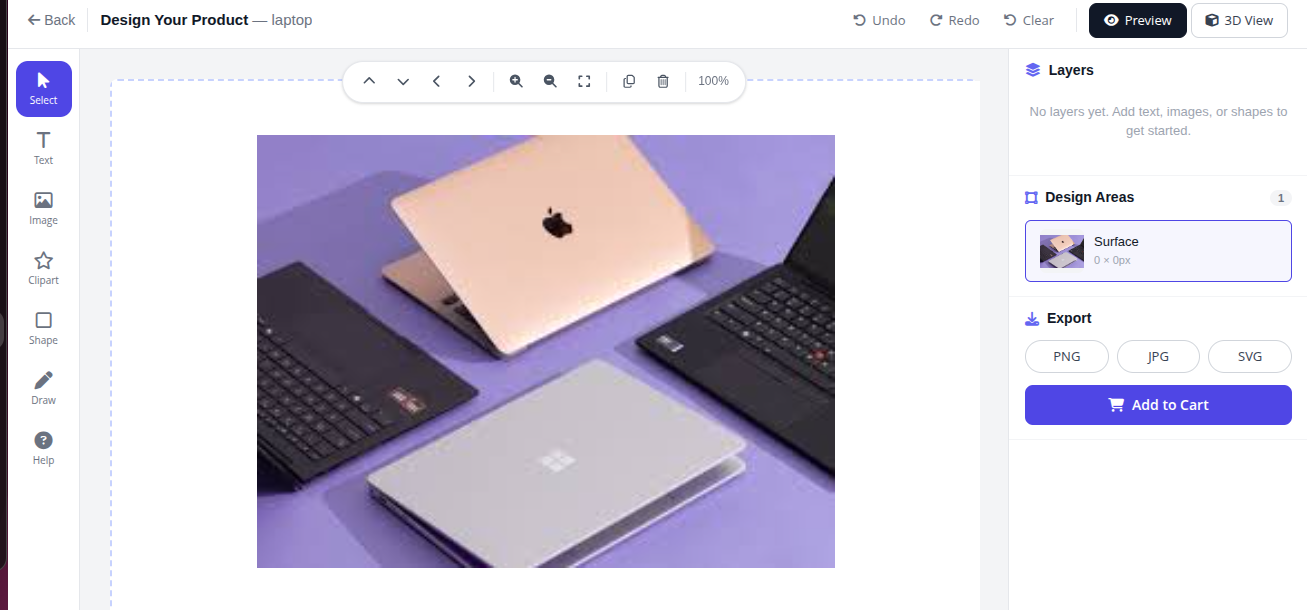
- The design editor will open with the product canvas ready for customization.
Designer Tools
| Tool | Description |
|---|---|
| Select Tool | Select, move, resize, and rotate design elements. |
| Add Text | Add custom text and customize font family, font size, font color, and bold styling. |
| Upload Logo | Upload custom images using drag-and-drop or file selection. |
| Shapes | Add rectangles, circles, triangles, stars, hearts, and lines with customizable colors. |
| Stickers | Add emoji stickers and uploaded clipart images. |
| Drawing & Paint | Create freehand drawings using adjustable brush and eraser tools. |
| Gradient Effects | Apply gradient effects to supported design elements. |
| Image Filters | Apply visual effects such as grayscale, sepia, and other supported filters. |
| Product Image Visibility | Show or hide the base product image while designing. |
Object Controls
When an object is selected, the following controls become available:
- Opacity Adjustment
- Rotation Controls
- Flip Horizontal
- Flip Vertical
- Delete Object
- Duplicate Object
Layer Management
The Layers Panel allows users to:
- Reorder design layers.
- Show or hide layers.
- Delete layers.
Canvas Controls
- Zoom In
- Zoom Out
- Reset Zoom
- Undo
- Redo
- Clear Canvas
- Move / Pan Canvas
Preview and Export Options
| Option | Description |
|---|---|
| Preview | Display a complete preview of the customized design. |
| 360° View | View the design in a 360-degree product preview when configured. |
| Download PNG | Export the design in PNG format. |
| Download JPG | Export the design in JPG format. |
| Download SVG | Export the design in SVG format. |
Multi-Surface Product Design
For products containing multiple design areas (such as the front and back of a T-shirt):
- Design area tabs appear above the canvas.
- Switch between areas to customize each surface independently.
- Each area maintains its own design elements and settings.
Adding Customized Products to Cart
- Complete the product design.
- Click Add to Cart.
- The design is saved as a custom option for the cart item.
- Design previews are displayed in the shopping cart.
- The design remains attached to the product throughout checkout and order processing.
Editing Existing Designs
From the shopping cart:
- Click Edit Design next to the customized product.
- The saved design reopens in the designer.
- Make the required modifications and update the cart item.
Order Management
Customer Order View
Navigation:
My Account → My Orders → View Order
- View previews of submitted designs.
- Review customized products included in the order.
Administrator Order View
Navigation:
Sales → Orders → View Order
- View customer design previews.
- Download design files in PNG format.
- Print designs directly.
- Generate PDF versions for production and fulfillment purposes.