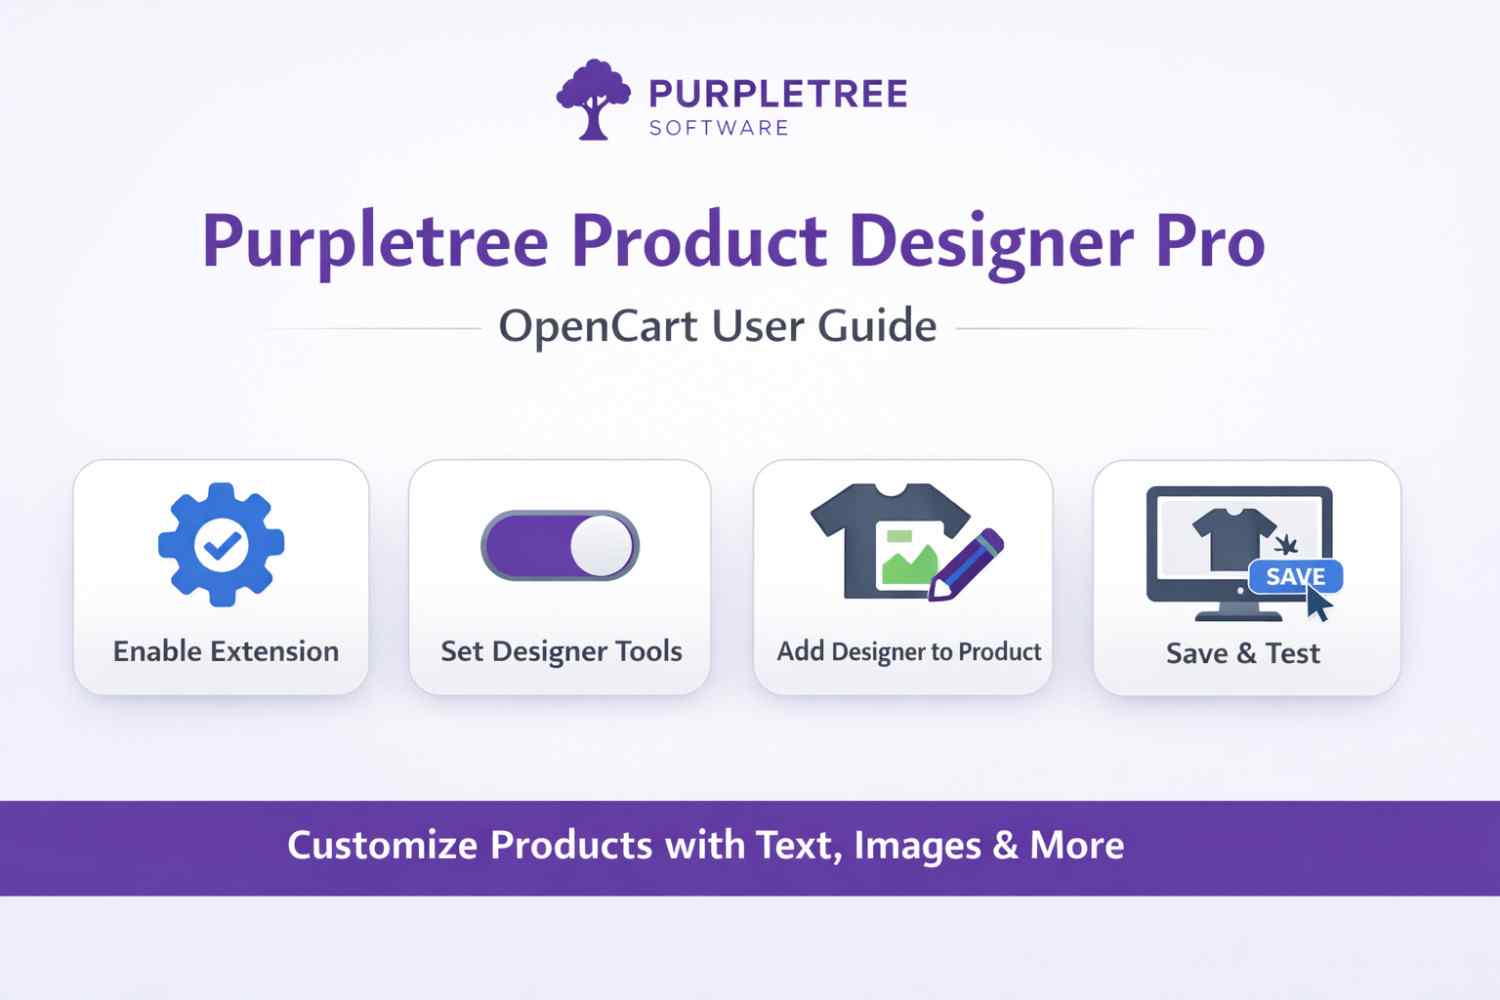
Purpletree Product Designer Pro – Easy User Guide
By Admin
| Mar 31, 2026
1. Enable the Extension
After installing the extension, go to the Admin Panel and open PTS Product Designer Pro.
- Enter your License Key
- Check License Status
- Set Module Status = Enable
- Upload Help Image (optional)
2. Enable Designer Features
Turn ON/OFF the design tools that you want to show on the frontend.
- Gradient
- Product Image
- Add Text
- Font Settings
- Filters
- Shapes
- Stickers
- Drawing & Paint
- Upload Logo
- Layers Panel
- Saved Projects
- Download Buttons
- Watermark
Tip: Enable only required features for better performance.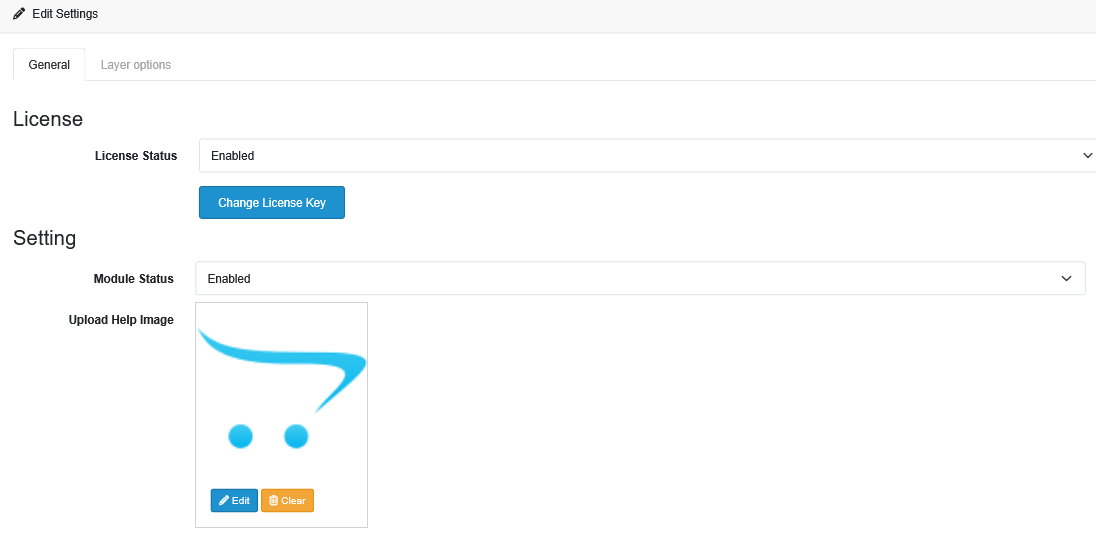

3. Enable Product Designer for Products
To assign the designer to products:
- Go to PTS Product Designer Pro → Designer Products
- Click Add Product
- Select your product
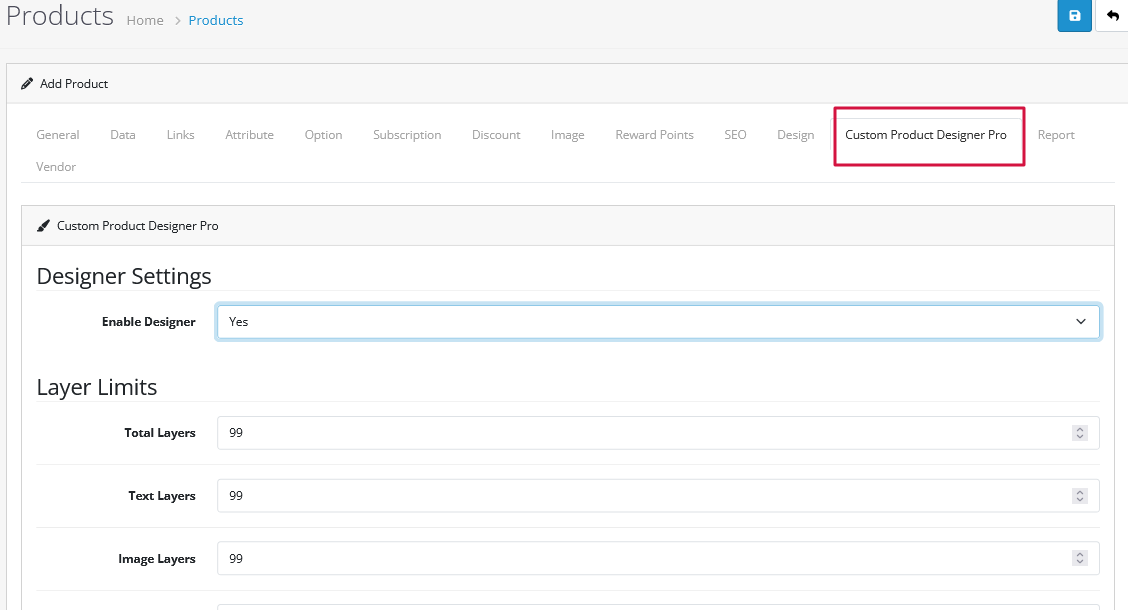
4. Configure Product Designer Settings
Open the Custom Product Designer tab and configure the following:
General Settings
- Set Enable Designer = Yes
Layer Limits (Optional)
Control how many elements users can add:
- Total Layers
- Text Layers
- Image Layers
- Clipart Layers
- Shape Layers
Design Areas / Images
- Add product images (Front, Back, etc.)
- Define the design area for customization
5. Save and Test
- Click Save
- Open the product page on frontend
- Check if the product designer is working properly
Conclusion
Purpletree Product Designer Pro allows customers to easily customize products with text, images, and design tools. Configure settings carefully to improve performance and user experience.