How to Set Up and Manage Multilingual Opencart Websites: A Guide to Opencart's Multilingual Support

Opencart is a popular open-source e-commerce platform that provides a lot of customization options to users. One of the significant features of Opencart is its multilingual support. With this feature, you can create and manage a website in different languages for users who speak different languages. This guide provides instructions on how to set up and manage multilingual Opencart websites.
Step 1: Installing Language Packs
The first step is to install the language packs that you need. You can do this by navigating to the "Extensions" menu and selecting "Language" from the dropdown. Here, you will see a list of available languages that you can install. Select the language you want to use and click on the "Install" button. Once the language pack is installed, it will appear in the list of installed languages.
Unlock the Full Potential of Your Opencart Store with Purpletree's Best Selling Extensions - Browse Now!
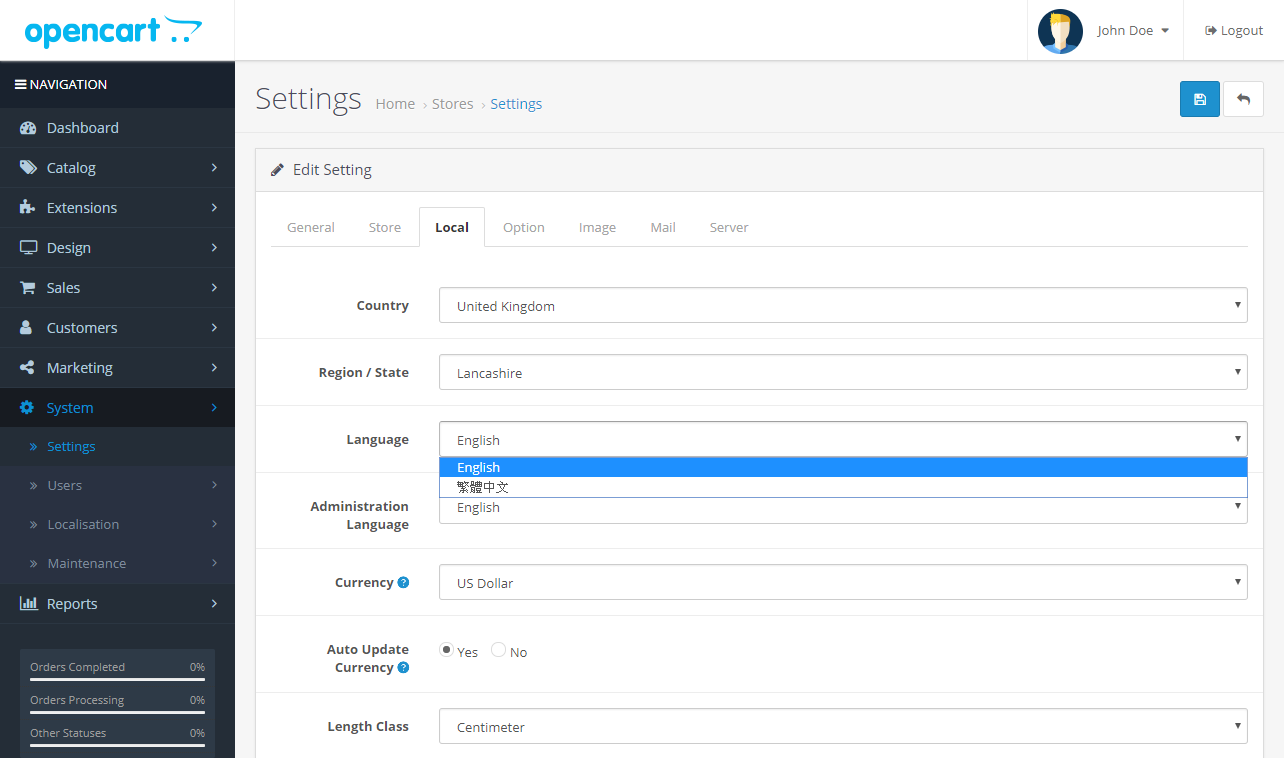
Step 2: Setting the Default Language
The next step is to set the default language for your website. This language will be displayed to users who visit your website but do not select a different language. To set the default language, go to the "System" menu and select "Settings" from the dropdown. Here, you will see a list of settings for your website. Click on the "Edit" button next to the default store to edit its settings. In the "General" tab, you will see an option to set the default language. Select the language you want to use and click on the "Save" button to save the changes.
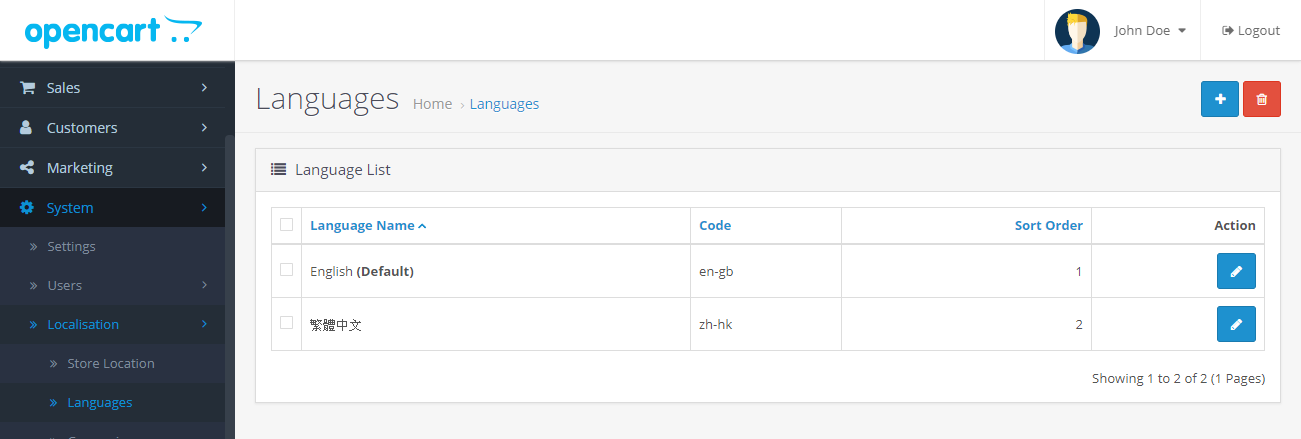
Step 3: Adding Languages to the Store
Now that you have installed the language packs and set the default language, you can add more languages to your store. To do this, navigate to the "System" menu and select "Localization" from the dropdown. Here, you will see a list of installed languages. Click on the "Add New" button to add a new language. You will need to provide some information about the language, such as the name, code, and direction.
Step 4: Translating Content
Once you have added a new language, you will need to translate your website's content into that language. This includes product descriptions, category names, and other website content. To do this, navigate to the "Catalog" menu and select "Products" from the dropdown. Here, you will see a list of products that you can edit. Click on a product to edit its details. In the "Data" tab, you will see fields for the product's name, description, and other details. Enter the translated content in these fields for the new language you added.
Step 5: Managing Language Settings
Opencart provides several settings for managing multilingual websites. To access these settings, navigate to the "System" menu and select "Localization" from the dropdown. Here, you will see options for managing languages, currencies, and other localization settings.
For example, you can set up language-specific URLs for your website. This means that users who visit your website in a specific language will see a URL that is tailored to that language. To set up language-specific URLs, go to the "SEO URLs" tab and select the language you want to configure. Here, you can set up SEO URLs for that language.
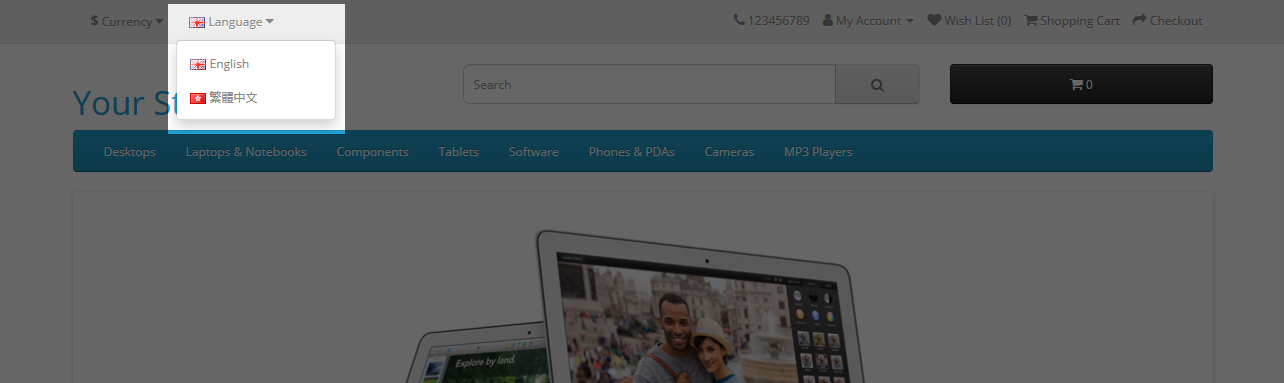
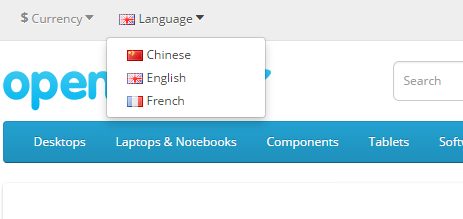
Step 6: Creating Language Switchers
Finally, you can create language switchers to allow users to switch between languages on your website. Opencart provides several modules for creating language switchers, including dropdowns, flags, and text links. To create a language switcher, navigate to the "Extensions" menu and select "Modules" from the dropdown. Here, you will see a list of modules that you can configure. Select a language switcher module and configure its settings to your liking.
In conclusion, setting up a multilingual Opencart