Uploading an Opencart Extension Manually if Unable to Upload via Admin Web Interface

Installing Purpletree Extensions is an easy task as explained in the user guide, but sometimes due to server configuration, the extension is unable to install and stuck at the first step i.e. the Upload screen where you have to upload the Extension package.
This is not due to any issue in our code but due to some Configurations in your PHP or MySQL server does not have enough resources to handle the package, probably because of restricted shared hosting environment or due to other reasons.
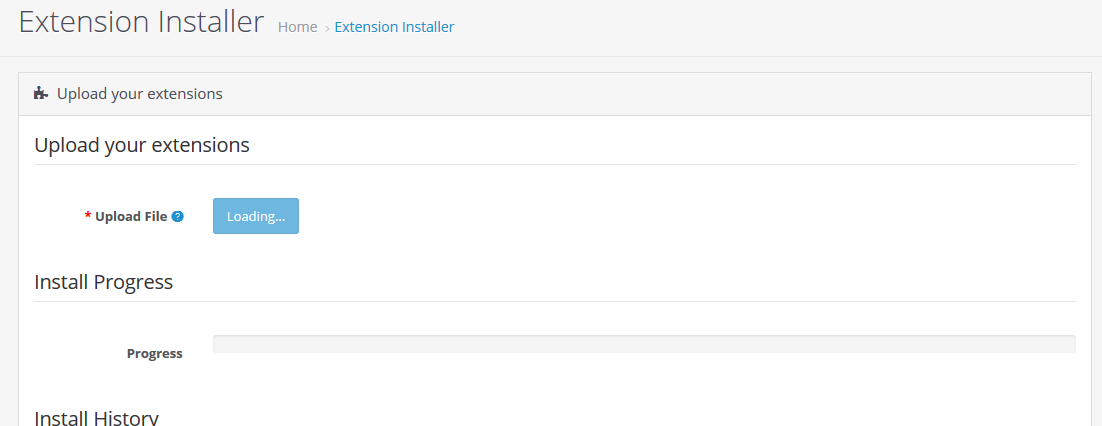
If for some reason you are stuck at first step where admin upload the extension from Admin > Extension > Installer, there are two ways to move forward,
Method 1: Solve the errors from server logs
You can check the error it might display on-screen like Memory issue or SQL Server issue, or it will be added in the Error Log of PHP, just check error.log on your root of your File Manager or check Error log from admin > System > Maintenance > Error Logs.
Then you can contact your Hosting provider to help you with how to increase the memory_limit (php setting), max_file_uploads (php setting), max_execution_time (php setting), post_max_size (php setting), max_allowed_packet (mysql server setting), whatever is the issue accordingly.
Sometimes after changing the values, your web PHP server and/or MySQL server needs to be restarted for changes to reflect, so make sure you follow all the instructions given by your hosting provider for the same.
Method 2: Installation by copying the files
If for some reason you are not able to increase server parameters, you can follow this method. In this method, you must have access to Opencart admin, and FTP or Cpanel or your website.
As you already have the Package of Purpletree extension as ‘*.ocmod.zip’. All you have to do is Unzip the Zip package on your Local Machine (PC). Doing this you will get one file as Install.xml and other Folder as Upload.
Now Delete the ‘*.ocmod.zip’ File

Now Open the FTP or Cpanel and browse to the webroot folder of the website.
Now upload all the contents of the unzipped folder as shown in the screenshot below.
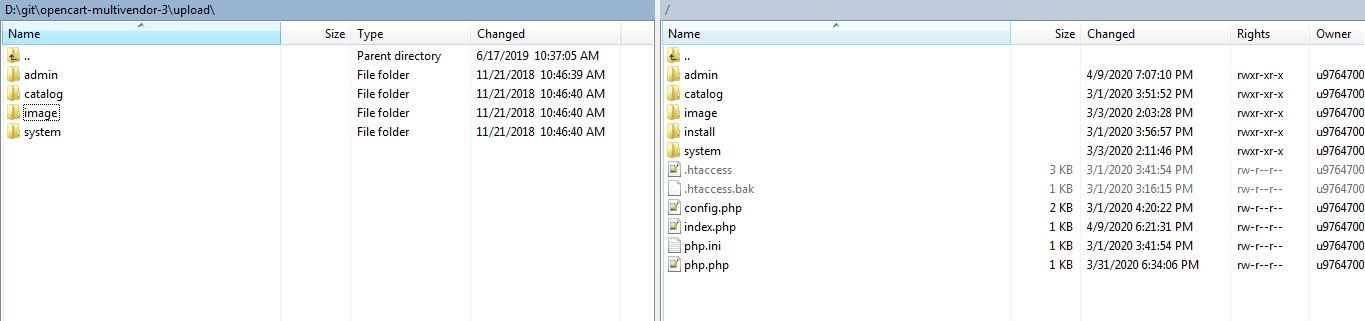
Just upload the Subfolder as on the left side of the above screenshot to your website root folder so that admin folder data goes to the admin folder of your server and catalog folder data to catalog folder data and so on the other 2 folders also.
Now let us complete the final step for upload, i.e. uploading the xml file, according to the version of opencart we have.
(a) For Opencart version 3.x
Now just Select the Install.xml file and create new zipfile containing only install.xml with name as "*.ocmod.zip". Make Sure the File name is same as the original extension file name. Now just upload this new zip file to admin > Extensions > Installer the same way.
(b) For Opencart version 2.3.x
Here just don’t have to create zipfile just rename the install.xml file to “*.ocmod.xml”. Now rename the xml file extension to "filename.ocmod.xml". Now upload this new xml file to admin > Extensions > Installer the same way.
Extension upload is now complete! now just follow the steps on the user guide of the extension for further steps. This procedure only replaces one step from the installation instructions i.e. Uploading the Extension on Admin > Extensions > Installer.
Now please follow the next steps as given in the installation instructions in the user guide.